Practical tutorial
How to use transcribe audio to text online: a practical guide
How to use transcribe audio to text online depends on what you already have: an audio file ready to upload or a recording you can capture now. This guide shows both routes, then explains how to review the result.
Decide which case you are
Choose the route that matches your starting point before you transcribe audio to text. The right path reduces setup and makes the final transcript easier to check.
- how to transcribe audio to text in word Use this route when your finished transcript needs to be edited and formatted inside a Word document.
- How to transcribe audio to text without AI? Compare manual listening and typing when you need maximum control over wording, timing, and sensitive material.
- transcribe audio to text online Start with the browser-based overview if you want to compare the online workflow before choosing a method.
- transcribe audio recording to text Follow this focused guide when the source is a saved meeting, interview, lecture, or voice memo.
Path A
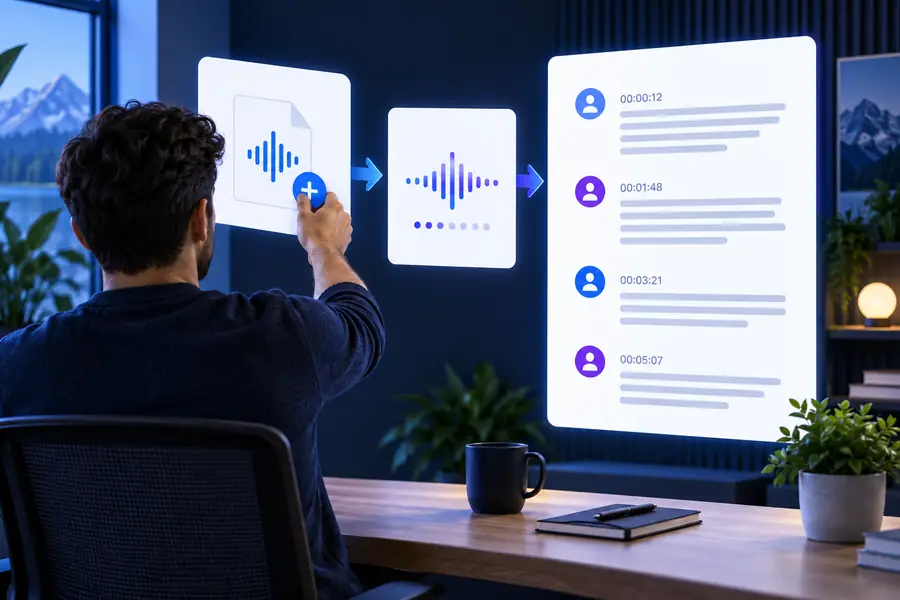
Use Path A when the audio already exists as a file. It is usually the cleanest way to transcribe audio to text because you can prepare the source before sending it through the workflow.
-
1
Prepare the audio
Choose the clearest copy of the recording and listen briefly to confirm that speech is present. If possible, trim long silence, remove an accidental opening, and note the language or names that may need careful review.
-
2
Upload and describe the job
Open the transcription tool, add the audio file, and state what you need from the result. A useful instruction can request readable paragraphs, speaker labels when identifiable, or a close-to-verbatim transcript rather than a summary.
-
3
Read the first output
When the text is ready, scan the beginning, middle, and end before relying on it. Check names, numbers, technical terms, and any passage where background noise or overlapping voices could change the meaning.
Path B
Use Path B when you are starting with a live conversation or a recording you have not saved yet. This route can help you transcribe audio to text quickly, but the source conditions matter more.
It cannot repair missing speech
An online transcription tool can only work with the sound it receives. If a speaker is too far from the microphone, words covered by traffic or music may never be reconstructed accurately.
What to do instead
Move the microphone closer, reduce background noise, and make a short test recording before the full session.
It cannot guarantee speaker identity
Speaker separation may become uncertain when people interrupt, speak at the same volume, or use similar voices. Labels in the text should be treated as useful organization rather than proof.
What to do instead
Ask people to take turns, introduce themselves, and manually correct speaker names during review.
It cannot replace a sensitive-content decision
Transcribing audio to text online means sending audio or text through a service workflow. The convenience does not automatically make every recording suitable for online processing.
What to do instead
Remove unnecessary personal details, check the service's handling information, and use a local or manual method for material that must stay offline.
It cannot know your preferred formatting by itself
A raw transcript may not contain the headings, action items, timestamps, or paragraph breaks you need for publication or documentation.
What to do instead
Give a specific formatting instruction and perform a final edit after the words have been checked against the recording.
Final check
Before you share or archive the result, compare the two common starting routes and confirm that the transcript meets the purpose of your task.
| Uploaded audio file | Live or fresh recording | |
|---|---|---|
| Best starting point | A saved interview, call, lecture, or voice memo | A conversation that has not yet been captured as a file |
| Main preparation | Select the clearest file and trim irrelevant silence | Place the microphone well and test the recording environment |
| Control before processing | You can listen to the source and check its quality first | You have less control because the recording is happening now |
| Most likely weakness | Noise, compression, overlapping voices, or unclear terms | Distance from the microphone, interruptions, or a missed recording |
| Useful instruction | Request paragraphs, speaker labels, or close-to-verbatim wording | Request a readable transcript and plan to confirm uncertain passages |
| Review priority | Names, numbers, jargon, and sections with poor audio | The opening, interruptions, and any moment where the recording dropped |
| Best next step | Edit the transcript or move it into Word for formatting | Save the recording, then make a corrected version for reuse |
A small set of checks
These practical quantities keep the workflow focused without treating an automated transcript as a finished document.
- Do not assume names, numbers, or speaker labels are correct without listening back.
- 0 assumptions
- Confirm that the selected recording contains the complete conversation before you transcribe audio to text.
- 1 source check
- Use one pass for meaning and a second pass for formatting, names, and details.
- 2 review passes
- Keep the surrounding context when deciding whether a questionable sentence makes sense.
- 100% context
You now have a reliable way to choose between an uploaded file and a fresh recording, write a useful instruction, and check the result. When you are ready, send your audio through the online workflow and keep a copy of the original for comparison.
Turn your recording into usable text
- Choose the source you already have
- Describe the transcript you need
- Review names, numbers, and unclear speech
Tutorial FAQ
Answers to common questions about how to use transcribe audio to text online for recordings, conversations, and quick text drafts.
Select the clearest version of the audio, upload it to the transcription tool, and describe the format you want. After the output appears, compare important names, numbers, and unclear phrases with the original recording before sharing it.
Yes, if the workflow accepts a live recording or lets you capture the conversation first and process the saved audio afterward. Place the microphone close to the speakers, reduce background noise, and remember that interruptions can make the transcript less certain.
State the language and the form of transcript you need, such as readable paragraphs, close-to-verbatim wording, speaker labels, or timestamps. Mention names and technical vocabulary when they are important, but still verify them in the final text.
The most common causes are background noise, distant microphones, overlapping speakers, accents, unclear pronunciation, and specialized terms. Improve the source when possible, then correct the remaining errors by listening to the exact passage again.
Uploading is usually easier when you already have a complete recording because you can check its quality first. Recording online is convenient for a new conversation, but it gives you less opportunity to fix a missed word or poor microphone position.
Read the transcript for meaning, then make a second pass for names, numbers, formatting, and speaker labels. Keep the original audio, remove or protect sensitive details as appropriate, and move the corrected text into your final document or notes.