Interviewers
You have a recorded interview with questions, answers, and several speakers.
Create a searchable first draft, then confirm names, quotations, and speaker changes in Word.
Word workflow
This guide shows how to transcribe audio to text in word using a simple upload, review, and copy workflow. Use it for interviews, meetings, lectures, or voice notes that need to become an editable document.
Prepare the recording and the Word document before you begin. A few minutes of cleanup now can prevent missing audio, confusing timestamps, or a transcript that is difficult to edit.
The best workflow separates capture, conversion, and editing. That makes it easier to spot recognition mistakes before the transcript becomes part of a report or shared document.
You have a recorded interview with questions, answers, and several speakers.
Create a searchable first draft, then confirm names, quotations, and speaker changes in Word.
A lecture, seminar, or field recording contains long stretches of continuous speech.
Turn the recording into editable notes that can be reorganized under headings and highlighted for later study.
A meeting recording needs to become minutes, action items, or a project brief.
Review the transcript in Word, remove repetition, and format decisions and owners into a usable document.
You need a transcript but want to understand what happens when automated recognition is not used.
Choose a manual or controlled process and keep the original recording and final document organized separately.
Use these three stages to move from a usable recording to a polished Word document without treating the first transcription as the final copy.
Choose the clearest version of the file and keep the original unchanged. Reduce background noise when possible, note the language and expected speakers, then open your transcription workflow and upload the recording. If Word is your destination, decide whether you will paste the text into a new document or add it to an existing template.
Start the conversion and wait for the draft to finish. Read along with the audio instead of scanning only for spelling: check names, numbers, technical terms, overlapping speech, and places where the speaker changes. Mark uncertain words rather than silently guessing, especially in interviews or research notes.
Copy or export the transcript into Word, then apply headings, speaker labels, paragraphs, and timestamps that help readers navigate it. Listen again to every marked section, remove accidental repetitions, and save the editable document with a clear filename alongside the original audio.
A raw transcript is a draft, not proof that every word was heard correctly. Compare the before and after states below: the value comes from the review and formatting pass as much as from the initial conversion.
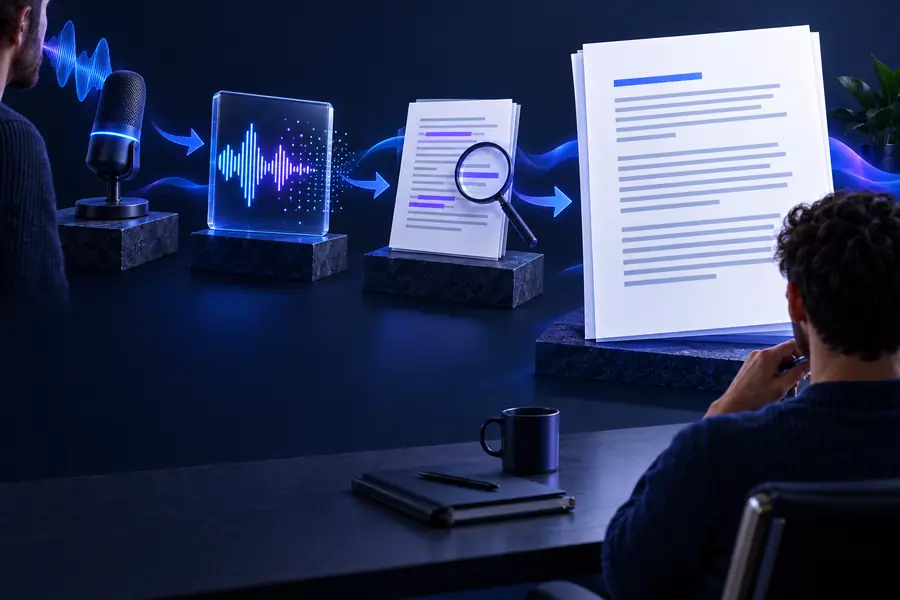

Review the audio wherever the text looks uncertain.
Raw transcriptEdited Word documentWord-based transcription workflows are easier to plan when you know what the input and output can look like. These figures describe practical parts of the process rather than a promise of perfect recognition.
Automation reduces typing, but it does not remove editorial judgment. Plan around these limits when the document will be published, graded, quoted, or used as an official record.
Muffled speech, heavy background noise, distant microphones, and crosstalk can produce incomplete or misleading text.
What to do instead
Use the clearest source available, improve microphone placement for future recordings, and replay uncertain passages at a slower speed.
A transcription system can confuse speakers when voices overlap or when several people have similar tone and volume.
What to do instead
Add labels while reviewing and use the meeting agenda or interview order to verify who said each passage.
People, brands, acronyms, addresses, and technical vocabulary are often recognized as familiar-sounding words.
What to do instead
Keep a short verification list and search the document for likely errors before sharing it.
The text may not arrive with the headings, paragraph breaks, citations, or action-item structure your Word document needs.
What to do instead
Reserve a separate editing pass for layout, styles, timestamps, quotations, and the final filename.
When the recording matters, make the review step part of the workflow rather than an afterthought. Start with a clean draft, then turn it into a document that another person can actually use.
Upload a clear recording and begin with a searchable transcript, then refine the wording and layout in Word. It is a practical starting point for notes, interviews, research, and meeting documents.
These answers address the practical questions behind the Word transcription workflow, from file preparation to the final editing pass.
Prepare a clear recording, open a transcription workflow, and upload or record the audio. When the draft is ready, copy it into Word and review names, speaker changes, punctuation, and timestamps before saving the document.
Word can work with supported recordings through its transcription features, but availability and limits can depend on the Word version and account environment. If the built-in route is unavailable, create the transcript with an online tool and paste the editable result into Word.
Common formats such as MP3, M4A, WAV, and MP4 are practical starting points when they are supported by your workflow. Clear speech matters more than the extension alone, so avoid heavily compressed audio or recordings with loud background noise.
Accuracy depends on microphone quality, language, accents, overlapping speech, and specialist vocabulary. Treat the output as a first draft and listen again wherever the text contains names, numbers, quotations, or uncertain wording.
Use Word headings for sections, consistent speaker labels for dialogue, and paragraphs that reflect natural topic changes. Add timestamps only where they help navigation, then run a final spelling and fact-checking pass against the recording.